


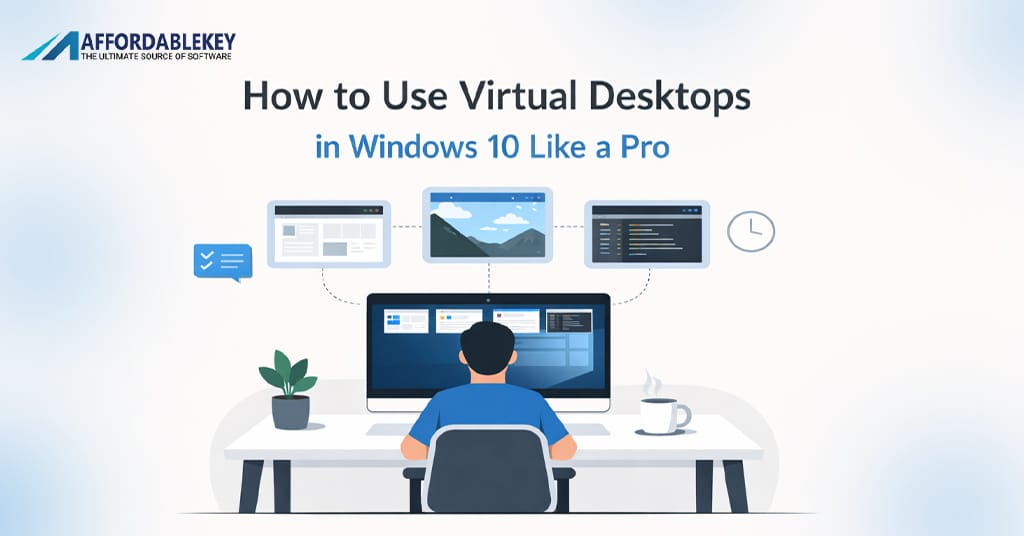
How to Use Virtual Desktops in Windows 10 Like a Pro
Introduction
Want to make your Windows 10 experience smooth and less cluttered? You’re in the right place. Learn how to use Windows 10 like a pro with one amazing feature—Virtual Desktops. These help you separate your tasks and projects. So, you don’t end up with too many open windows on one single screen. This feature can help at work, home, or even school. Most people don’t even know it exists.
With Windows 10, making and managing virtual desktops is easier than ever. You can be more organized. You’ll have work windows in one place and fun windows in another. Don’t switch tabs again and again—switch desktops instead. This article will show you every trick.
By the end, you’ll know every step, shortcut, and tip. So, you can work smarter—not harder. You will also discover how to make use of your device by using Windows 10 like a pro. This is your full guide to becoming more organized on your computer.
What are Virtual Desktops?
Virtual desktops help you keep your screen tidy. Think of them as separate desktops within your computer. They don’t need any extra software. Microsoft added them right into Windows 10. You can switch between desktops easily with a click or a shortcut. Each desktop works like a clean slate where you can open different windows.
Imagine opening work apps on one desktop and games on another. You won’t see the clutter from both at the same time. Others may call them multiple desktops, but Windows calls them virtual desktops. If you want to look like you use Windows 10 like a pro, this feature is key. You can even create unlimited desktops for each task.
Everything runs smooth since Windows 10 is powerful. It keeps programs running in the background on each desktop. So, switch desktops, and pick up where you left off. You won’t lose data or performance.
You don’t need to install anything. It’s all included. So, all you need is some simple steps. In the next sections, we’ll explore how to use them well. Keep reading and soon you’ll be using Windows 10 like a pro every day with virtual desktops.
Benefits of Using Virtual Desktops
Using virtual desktops offers many benefits. First, it keeps your space clean. You can put work stuff in one place and personal stuff in another. This helps you focus more. You won’t get distracted by random open windows. That alone can help you use Windows 10 like a pro.
Another great thing? Better multitasking. You can switch between desktops fast. So, you waste less time looking for an open window. You can also group tasks. All your school tabs can be in one desktop, and emails in another.
You get improved organization. You won’t spend time minimizing or closing apps. With virtual desktops, your workflow becomes smooth. It also boosts your system efficiency. Even on a basic system, Windows 10 can handle many desktops with ease.
You look more professional too. Showing clean desktops during screen-sharing in meetings? That’s a power move. These benefits are real, and you will notice them once you adopt this method. Also, it reduces screen stress from seeing too much at once.
If used right, your computer becomes smarter. You’ll feel in control, and that’s the first step to using Windows 10 like a pro. Stay tuned as we explore how to build and manage your desktops in the next parts.
How to Create a Virtual Desktop
It’s easy to create a virtual desktop. You can do it in seconds. First, find the Task View icon on your taskbar. It looks like a square with lines next to it. Click it. That’s it. You’ve made your new desktop.
You can also press Windows key + Ctrl + D on your keyboard. This instantly opens a new desktop. No need to touch your mouse if you love shortcuts. Creating more desktops helps with tasks, work, school, or play. You can make as many virtual desktops as you like. There’s no hard limit.
Each new desktop is clean. You can open different apps or windows there. But your files, folders, and settings stay the same. If you want to use Windows 10 like a pro, this is the base step.
You can name your desktops too. Click the Task View again, right-click the one you want, and choose “Rename”. This makes it simple to know what each desktop is for.
Play around with this feature. You’ll be surprised how much cleaner your workspace feels.
How to Switch Between Virtual Desktops
Switching desktops is quick and simple. There are two easy ways. First, use the Task View. Click it on the taskbar. You’ll see all your desktops. Now click the one you want to go to. Done.
The second way is even faster. Press Windows key + Ctrl + Left Arrow or Right Arrow. These keys help you move left or right through your open desktops. This shortcut saves time. It’s great if you don’t want to lose focus by reaching for your mouse.
If you’re someone managing multiple jobs or tasks, switching helps a lot. You never lose where you were. If you switch from Email Desktop to Project Desktop, your apps stay just as you left them.
Switching often during the day? Then this is a must-know skill. If you master this, you use Windows 10 like a pro without effort. Keep things flowing fast by learning these basics.
These actions soon become muscle memory. Once they do, you’ll fly through your day with less click work. Imagine how many seconds and clicks this tip saves you in a week.
How to Move Apps Between Desktops
Sometimes, you may open a window in the wrong desktop. No worries. You can move it. First, go to the Task View by clicking its icon or pressing Windows key + Tab. Now, hover over the desktop with the app you want to move.
Find the app/window in that desktop. Right-click it. Now that app lives in your target desktop.
You can also drag and drop it within Task View. Click and hold the app window. Then drag it to the other desktop at the top. It’s very visual, and you will see it change places.
This is useful many times a day. Maybe you opened a chat in your work desktop. You now want it in your social desktop. No need to close and reopen. Just move it.
These actions help avoid clutter. They also save time. Knowing how to shuffle apps means you’re staying organized. You’re one step closer to using Windows 10 like a pro.
Keep mastering these controls.
How to Close a Virtual Desktop
Don’t worry if you made too many desktops. You can close them easily. Open Task View first. You’ll see an “X” at the corner. Click it, and it’s gone.
You can also use a keyboard shortcut. Press Windows key + Ctrl + F4. This will close the current desktop. Make sure you’re on the one you want to close. Your open apps will move to the desktop before it.
No files are lost when you close a desktop. Apps you opened there move to the last one you used. This smart design is a big reason to use Windows 10 like a pro. You don’t need to worry about data loss.
Close extra desktops when you finish a task. It helps you stay tidy. It also saves system memory. The fewer open desktops, the faster your system runs.
Try making and closing desktops during your next session. It takes seconds.
Customize Each Virtual Desktop
Want to go the extra mile? Start customizing your desktops. Each desktop can look and feel a bit different. Though Windows 10 doesn’t let you change wallpapers for each desktop, you can set different icons or open selected apps per desktop.
Pin different apps to the taskbar in each desktop. You can do this by right-clicking on the app and choosing “Pin to taskbar.” This lets you keep only work tools on one desktop and media apps on another.
Use shortcuts like Alt + Tab to control apps in the current desktop. Also, you can name desktops to avoid confusion. Go to Task View. Right-click the desktop name, and click rename. For example, “Work,” “Study,” or “Fun.”
These tweaks help even more when you share your screen. You avoid showing messy desktops to your team. Customized desktops bring focus and control. You now look like you use Windows 10 like a pro every day.
Next, we’ll show top shortcuts to make switching lightning fast.
Use Keyboard Shortcuts for Speed
Speed matters. Using shortcuts can help a lot. Here are the best ones for virtual desktops.
Create a new desktop: Windows + Ctrl + D
Close current desktop: Windows + Ctrl + F4
Switch desktops: Windows + Ctrl + Left/Right Arrow
Open Task View: Windows + Tab
Use these every day. They make everything fast and smooth. You can fly through tasks. No need for a mouse.
At first, it may feel hard to remember. But try using just one shortcut a day. Then add more as you grow.
Shortcuts help you save seconds. Seconds become minutes. Over time, that’s hours saved. This is how to use Windows 10 like a pro with real speed.
Make it a habit. Write shortcuts on a sticky note near your screen. Or set them as your desktop background for a while. Speed tools help power users. Now you’re one of them.
Make Desktops Task-Specific
One strong way to stay focused is by making each desktop for one task only. Make one for writing. Another for meetings. One more for research. Another for fun.
This trick reduces distractions. Seeing only what you need? That makes focus easy. It keeps your workspace clean and on purpose.
Start your day by creating 3 or 4 desktops. Label them inside Task View. Work from each depending on the task. Don’t forget, switching takes seconds.
By grouping tasks, you can boost your daily output. That’s a major productivity win. It helps you act like you use Windows 10 like a pro, without stress.
Use Virtual Desktops for Work and Study
Whether you’re working from home or taking online classes, virtual desktops help split your focus. They help keep job tasks on one desktop. You can keep school or study tabs on another.
In Zoom calls? Keep meeting notes on one screen and presentation apps on another. Planning a paper? Research on desktop one. Write on desktop two.
This method builds habit and routine. You’ll focus more and finish tasks quicker. Students and workers both benefit here. Many say this tip changed how they work daily.
In no time, you’ll feel like you’re using Windows 10 like a pro.
Tips to Avoid Desktop Clutter
Too many desktops? That’s also a problem. Don’t make more than you need. Keep things simple. Always name desktops. That helps you know what’s in them.
Group apps smartly. Don’t just throw every open window into one desktop. Check your desktops at lunch or day’s end. Close ones you no longer use.
Use shortcuts to move apps instead of opening duplicates. This prevents lost tabs or repeated work.
Review your screen often. Clear unused windows. These steps help reduce digital mess. It frees your mind and your time.
Use this layout well and you’ll feel like you’re using Windows 10 like a pro all the time.
How AffordableKey Can Help You Get Genuine Windows 10
Want to unlock the full powers of Windows 10 without spending too much? Try AffordableKey. They offer legal, low-cost product keys for Windows 10. You can upgrade or activate your PC with ease.
AffordableKey provides fast support and real licensing. Say goodbye to trial versions or limited features. If you’re serious about using Windows 10 like a pro, get a real copy today.
Their prices are fair. Their service is trusted. You protect your system with genuine software. No cracks, no hacks, just original.
Head over to AffordableKey now and grab a real Windows 10 license. Your virtual desktop tools and other features will work fully and smoothly.
Conclusion
Now you’ve learned how to use Windows 10 like a pro, using virtual desktops. This tool gives you space, focus, and a clean setup. From basic shortcuts to moving apps across desktops, you’ve seen it all.
Split your screen time. Use each desktop wisely. Group tasks, name your desktops, and keep control. You’ll soon notice better flow and less stress.
Don’t forget to get a real Windows 10 key from AffordableKey to enjoy every benefit. Keep using these features daily. In time, they’ll become second nature.
Whether you’re a student, a remote worker, or just a PC lover, this feature fits your workflow. Virtual desktops are more than a trick. They are a powerful way of managing your digital life.
Start now. Create that first desktop. Then keep building smart and staying clear. You’ve now seen what using Windows 10 like a pro looks like. Now go live it.
FAQs:
1. Can I use different wallpapers in each virtual desktop in Windows 10?
No, Windows 10 does not support different wallpapers for each desktop by default.
2. Do virtual desktops use extra memory?
Not much. All desktops share the same memory space. They don’t slow your system unless apps inside them use heavy memory.
3. Can I rename my desktops?
Yes. Open Task View, right-click your desktop name, and click “Rename.”
4. Will my apps close if I delete a desktop?
No. The apps move to another desktop. You won’t lose your work.
5. Is this feature only in Windows 10 Pro?
No. It works in all versions of Windows 10. Just make sure Windows is up to date.